Whether you’re working in professional photo-editing software or using a simple mobile app, understanding how to remove masks from a photo is a valuable skill. In this guide we’ll dive into what masks are, why you’d want to remove them, and the step-by-step methods you can use across different tools (desktop, mobile, online). By the end you’ll be able to confidently remove unwanted masks, overlays or mask-layers from your images.
What is a “mask” in photo editing (and in other contexts)
Before digging into removal, it helps to clarify what we mean by a “mask” in the context of a photo.
What a mask is
In photo-editing, a mask is essentially a non-destructive way to control which parts of a layer or image are visible, or which are affected by edits, without altering the original pixels permanently. Skylum+2Adobe Help Center+2 For example:
-
A layer‐mask in Adobe Photoshop: you paint black to hide parts of the layer, white to reveal parts, grey for partial transparency. Adobe Help Center
-
A clipping mask: one layer’s visibility is restricted by another layer’s shape or transparency. Boris FX
-
In UI design tools such as Figma: a mask can define which parts of an object show through a shape. Figma Help Center
-
In a different sense: a physical “face-mask” in a photo (e.g., surgical mask worn by a person) or an overlay mask covering part of a photo may also be considered for “removal”.
Why masks exist (their purpose)
Masks are used because they offer flexibility:
-
They let you apply adjustments only to selected areas (e.g., brightening only the subject, not the background) by hiding or revealing parts without permanently deleting pixels. Skylum+1
-
They support non-destructive workflows: you can always go back, modify or remove the mask, because the original layer is intact. Adobe Help Center
-
In compositing, masking allows you to blend multiple images, swap backgrounds, isolate subjects, or remove unwanted areas. Boris FX+1
When you might want to remove a mask
Here are common scenarios:
-
You inherited a layered file where someone applied a mask and now you want to remove the mask so the full layer shows again.
-
You applied a mask temporarily but now you’ve changed your mind and want to revert to the un-masked state.
-
You want to flatten or simplify the image (remove all mask layers) for exporting or printing.
-
In rare cases: removing a face-mask (physical mask worn in the photo) for restoration, editing or creative retouching. (Note: this has ethical implications—be sure you have rights/consent.)
-
You’re working in a mobile/online tool and you see an overlay or “mask effect” you didn’t intend; you want to remove it.
Understanding the types of masks you may encounter
To remove a mask properly, it helps to identify what kind of mask you’re dealing with. Here are the main types and what they involve:
| Mask Type | Description | Where you’ll see it |
|---|---|---|
| Layer Masks | A mask attached to a layer in editing software; defines visible/hidden parts. Adobe Help Center+1 | Photoshop, GIMP, Affinity Photo, etc. |
| Clipping Masks | A mask where the visibility of one layer depends on the shape/opacity of another. Boris FX | Photoshop, Illustrator, etc. |
| Alpha/Channel Masks | Masks stored in a transparency (alpha) channel or as a grayscale mask; used for complex selections. Boris FX | Advanced editing/compositing workflows. |
| Quick Masks | Temporary mask mode used during selection creation (e.g., in Photoshop) for visualising the selection. | Photoshop, other editors. |
| Overlays or Effects Masks | Non-layer mask: maybe an overlay applied in mobile apps (e.g., a “mask effect” covering part of image) | Mobile editing apps, web editors. |
| Physical/Subject-Mask in Photo | The term “mask” used literally: e.g., a person wears a face-mask in the photo. | Portraits, post-pandemic photos, user-generated content. |
Having clarified this, let’s go through how to remove each kind.
How to remove a mask in desktop photo-editing software
Here we’ll cover two popular scenarios: (1) removing layer/clipping/alpha masks in a full editor, (2) removing unwanted overlays or masks in simpler editors.
Scenario A: Removing a layer/clipping/alpha mask (e.g., in Photoshop)
If you’re working in Photoshop (or a similar program like GIMP, Affinity Photo) here are the steps:
Step 1: Identify the mask
-
In the Layers panel, look for a layer that has a “mask thumbnail” (typically white/black thumbnail next to the layer thumbnail). Adobe Help Center+1
-
If it’s a clipping mask, you’ll see an arrow icon or “clipped” indicator under the layer.
-
In the channel panel you might see an “Alpha channel” used as mask.
Step 2: Decide your desired end state
-
Do you want to remove the mask entirely (so the full layer shows)?
-
Or do you want to disable it temporarily, or modify it (invert, refine)?
-
It’s wise to duplicate the layer or save a version, so you have the original intact.
Step 3: Remove or disable the mask
To remove the mask:
-
Right-click the mask thumbnail → Delete Layer Mask (in Photoshop) or equivalent.
-
Alternatively, you can drag the mask thumbnail to the trash icon.
To disable the mask: -
Click on the mask thumbnail, then go to Layer > Layer Mask > Disable. The mask remains but is bypassed.
To disable clipping mask: -
Right-click the clipped layer → Release Clipping Mask or uncheck “Clip to layer below”.
Step 4: Clean up if needed
-
If the mask removal caused unwanted areas to appear (e.g., hidden parts are now visible), you may need to tidy up or re-edit.
-
If there were adjustment layers inside a mask group, consider flattening or merging as necessary.
-
Save your file and export the final version.
Step 5: Exporting / flattening
-
If you plan to use for web/print, you may flatten the image (Layer > Flatten Image) or merge visible layers.
-
For maximum flexibility keep the version with layers and masks saved as a .PSD (or native file).
-
Export as JPG/PNG for final output.
Example: Quick Workflow in Photoshop
-
Open file → identify layer with mask.
-
Duplicate layer (just in case).
-
Right-click mask thumbnail → Delete Layer Mask → confirm.
-
If there’s a clipping mask arrow → Right-click layer → Release Clipping Mask.
-
Save as “filename_mask‐removed.psd” and export “filename_mask‐removed.jpg”.
Scenario B: Removing unwanted overlays or “mask effects” in simpler editors
Sometimes you’re working in mobile apps or web editors and not dealing with proper layer masks but rather an effect called a “mask” (e.g., a black circular mask covering the edges, or a blur mask). Here’s how to address that:
-
Locate the “Mask” or “Overlay” adjustment in the effects panel.
-
Toggle it off or delete it. Some apps have a “Masks” tab (if they support selective edits).
-
If the app uses layer style: open the layer/effect, find the mask thumbnail, delete or disable as above (if the UI supports it).
-
If all else fails: revert to the original image (undo) or re-import the photo and avoid applying the mask-effect.
How to remove a physical face-mask from a photo (face mask in portrait)
Now we reach a trickier topic: removing a physical mask worn on a person in a portrait (e.g., surgical mask). This falls under advanced retouching / inpainting and must be handled ethically (do you have the subject’s consent?). Some relevant research has been done on face-mask removal using AI. arXiv+1
Important ethical & legal considerations
-
Always obtain consent from the person whose face is being edited.
-
Be transparent about edits if the image will be published or used commercially.
-
Avoid misrepresentation: removing a face mask may change the identity or appearance in deceptive ways.
-
Respect privacy laws in your jurisdiction (especially with portraits).
Basic steps for manual editing
While full AI inpainting is outside the scope of a simple blog, here’s how you might approach it manually:
-
Duplicate the original photo layer.
-
Zoom in and carefully select the mask region (e.g., using the Lasso or Pen tool).
-
Use Content-Aware Fill (Photoshop) or Clone Stamp to fill the masked region.
-
Reconstruct features (mouth, nose, chin) using retouching brushes, often referencing a different photo of the subject if available.
-
Retouch skin texture, color matching and lighting to integrate seamlessly.
-
Final check: ensure the result looks natural, lighting and shadows match, and edges are clean.
Using AI Assisted Tools
Recent research shows AI methods can produce impressive results for masked face inpainting. For example, one study uses a “Residual Attention U-Net” to focus on masked region and reconstruct face. arXiv If you have access to specialized editors or plugins you might leverage them—but always check results carefully and do manual touch-up.
Tips, best practices & common pitfalls
Here are some practical tips to make your mask-removal workflow smoother and avoid common mistakes.
Tips – what to do
-
Always work non-destructively: duplicate layers, use smart objects, or save original files before removing masks.
-
Name your layers clearly (e.g., “Layer1 – masked version”, “Layer1 – mask removed”) so you can revert if needed.
-
Zoom in and check edges of where the mask was; often you’ll see halo or fringe if removal wasn’t clean.
-
Match lighting and texture: when removing a mask (or overlay) you may expose parts that weren’t originally visible—make sure they look natural.
-
Keep backups of layered files (.psd, .afphoto) so you can return to masked version if needed.
-
Use adjustment layers after removal to correct any visual differences introduced by revealing previously hidden areas.
-
If working in mobile apps: make sure your app supports masks or overlays removal; some cheap apps flatten changes irreversibly.
Common pitfalls (and how to avoid)
-
Mistakenly deleting the mask instead of disabling it → If you delete the mask you lose the ability to revert easily. Use disable if unsure.
-
Clipping mask still active → Even if you removed the layer mask, the layer may still be clipped. Check for “clipping arrow” icon.
-
Visible artifacts after removal → Hidden areas may have different exposures or color; you’ll need to correct.
-
Overlooked smart filter masks → Photoshop smart filters may include mask thumbnails; removing only layer mask might leave filter mask still active.
-
Exporting with transparent parts inadvertently → If you remove a mask and leave transparent areas, exporting as PNG vs JPG may show unexpected backgrounds.
-
Ethical mis-representation when removing face-masks from portraits → Be sure you’re not altering identity or violating rights.
Tool-by-tool walkthroughs (optional desktop + mobile)
Below are quick guides for several popular tools so you can apply the steps in your preferred environment.
Photoshop (Desktop)
-
Open your .PSD or image.
-
Layers panel → find layer with mask.
-
Right-click mask thumbnail → Delete Layer Mask (or: Disable Layer Mask).
-
If clipping mask: right-click layer → Release Clipping Mask.
-
Inspect edges, hidden regions revealed. Use Clone/Healing to fix any issues if needed.
-
Save layered version, then export final image.
GIMP (Desktop, free)
-
Open image in GIMP.
-
In Layers panel: right-click layer → Add Layer Mask (if masked) or check for “Show Layer Mask”.
-
To remove: right-click mask thumbnail → Delete Layer Mask.
-
Inspect changes, fix edges.
-
Export via File > Export As….
Affinity Photo (Desktop)
-
Open document.
-
Layers panel: if a mask is attached (looks like right-side thumbnail), click to select.
-
Right-click mask thumbnail → Delete.
-
Inspect result, fix any revealed irregularities.
-
Save and export (File > Export).
Mobile Apps (iOS/Android)
-
In many mobile editors (e.g., Snapseed, Lightroom Mobile, PicsArt), masks may appear as “Selective Edits” or “Overlay”.
-
To remove: locate “Mask” or “Selective” tool → select mask → delete or disable toggle.
-
If there’s no explicit mask panel: you may need to revert to the original image or undo changes.
-
Save final result to camera roll/export.
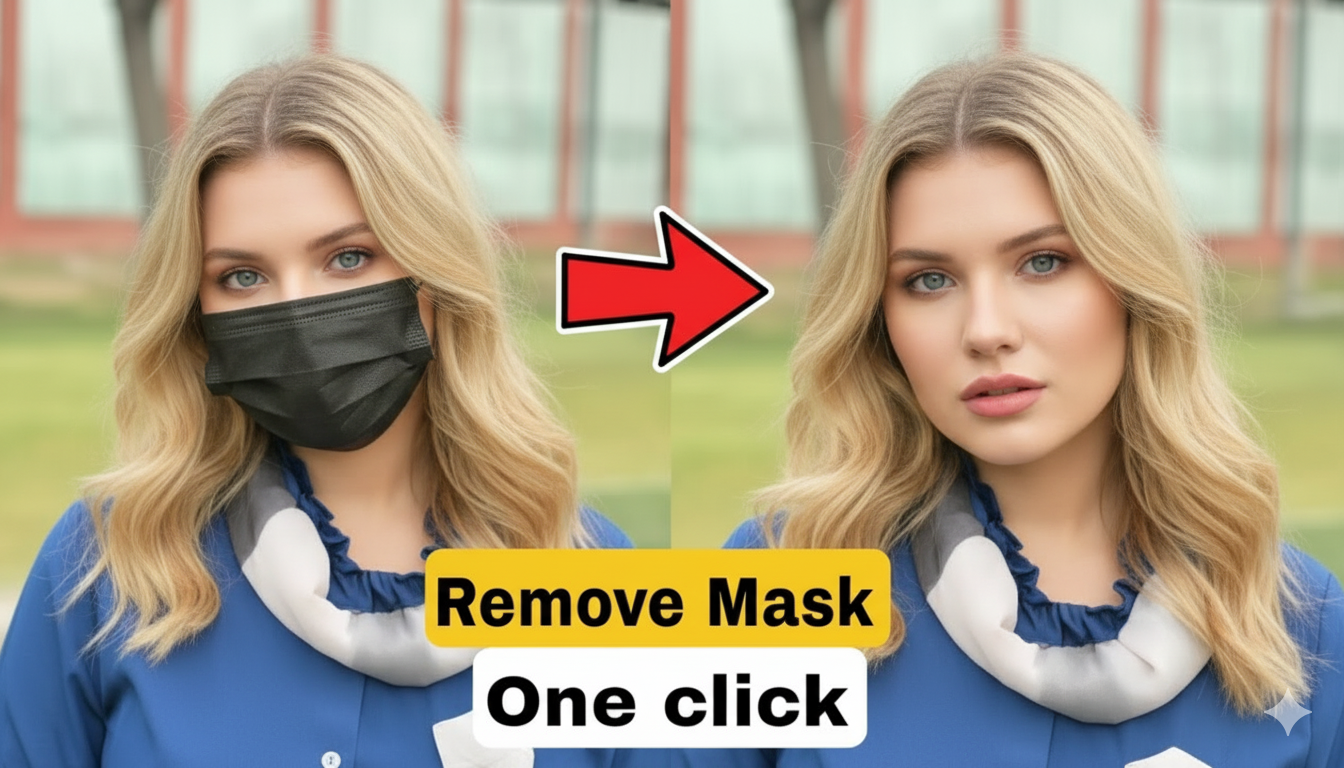
Prompt:
Please reveal the full face of this girl — remove the mask and show her real mouth and lips
Online Editors (Web)
-
Tools like Photopea, Pixlr: look for “Layer Mask” in the Layers panel.
-
Remove similarly: right-click mask → delete.
-
Or if overlay effect: check effects sidebar → locate mask/overlay → disable.
-
Save web export (PNG or JPG).
Summary
Removing masks from a photo is a powerful tool whether you’re tidying up a layered edit, simplifying your file, or restoring a full image view. The key is:
-
Recognise what type of mask you’re dealing with.
-
Decide if you want to disable or delete it.
-
Use non-destructive workflow (duplicate layers, save backups).
-
After removal, inspect carefully for revealed artifacts or issues.
-
Use appropriate tool-specific steps (desktop, mobile, web).
-
If removing a physical mask (on a person), approach with caution, ethics and possibly advanced techniques.
With the steps and tips provided here, you’re well-equipped to handle mask removal in nearly any editing scenario. Happy editing!
For More information Visit