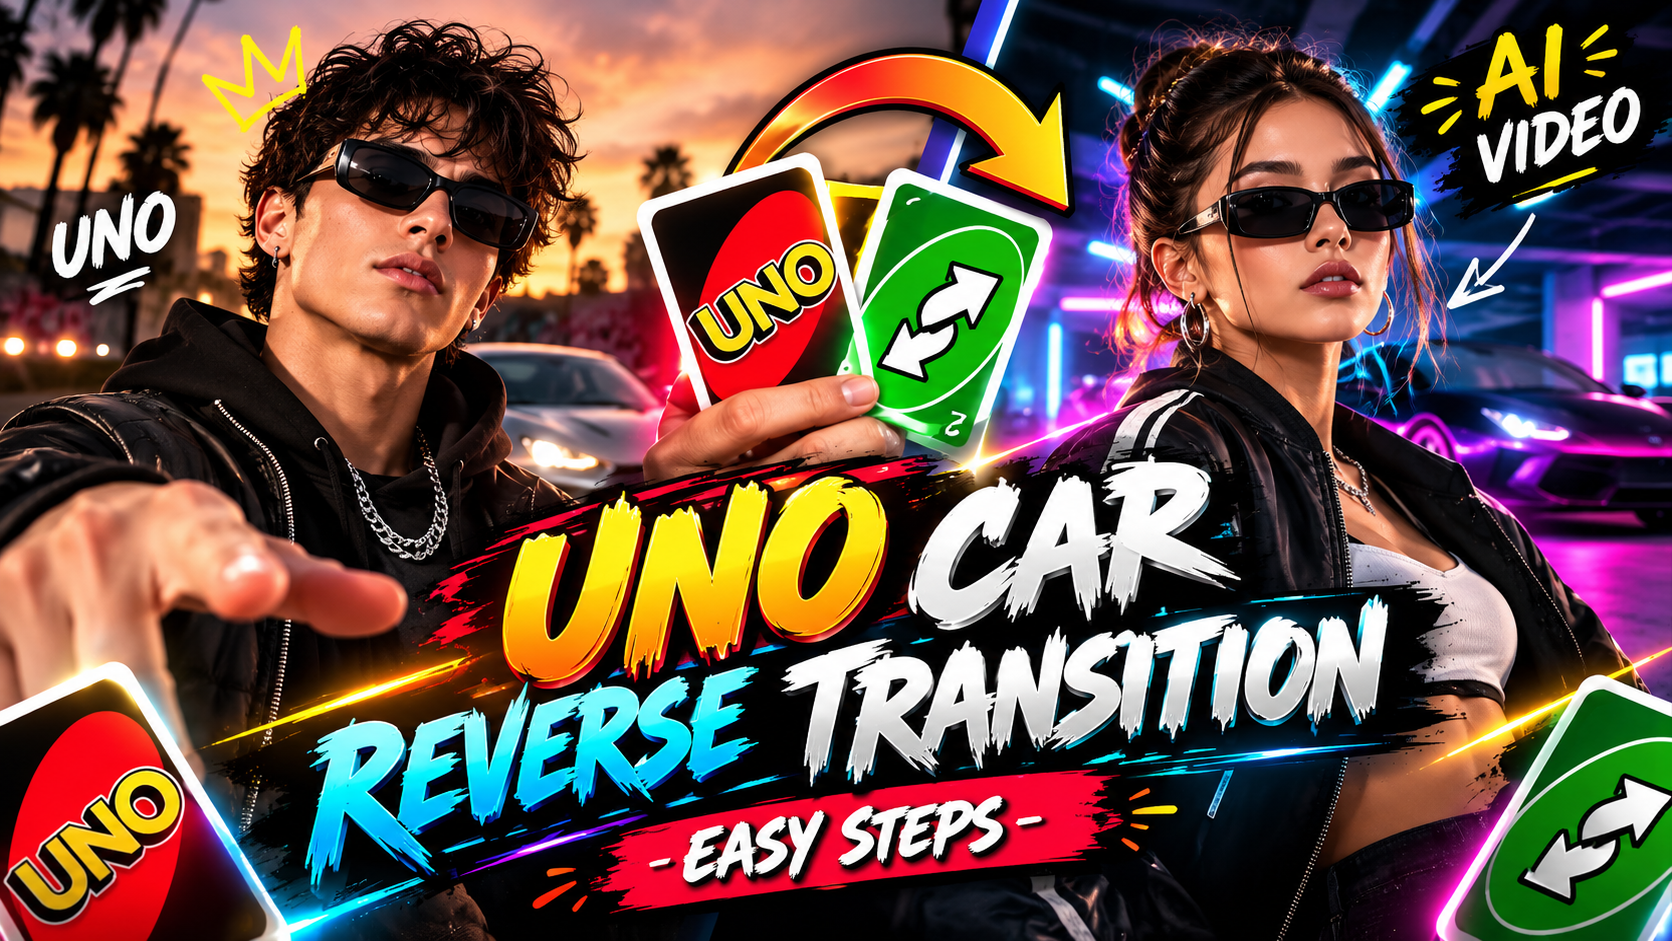
One creative trend is the AI Uno car reverse transition video, where a car appears to move backward, reverse dramatically toward the camera, or transform from one scene into another using a smooth reverse-style transition. This effect can make an ordinary car video look like a professional automotive edit.
You don’t need an expensive camera, a powerful computer, or advanced filmmaking experience to try this effect. With an AI video generator and a video editing application, you can create your own version using a car photo, a short video clip, and a few well-written prompts.
In this guide, you’ll learn how to make an AI Uno car reverse transition video step by step, including how to prepare your images, generate reverse motion, create smooth transitions, synchronize effects with music, and export your final video for TikTok, YouTube Shorts, Instagram Reels, and Facebook.
What Is an AI Uno Car Reverse Transition Video?
An AI Uno car reverse transition video is a creative automotive edit that uses artificial intelligence, reverse-motion effects, or transition techniques to create a dramatic change between car scenes.
The exact effect can vary depending on the trend you’re following. For example, your video might show:
-
A car reversing toward the camera.
-
A vehicle moving backward into a new scene.
-
A regular car transforming into a modified sports car.
-
A cinematic car shot reversing into an earlier moment.
-
A vehicle appearing to travel backward through a tunnel.
-
A car reversing on a musical beat before a dramatic reveal.
The main attraction is the transition itself. The viewer sees an unexpected movement or visual change that makes the video more interesting than a normal driving clip.
Important: The effect should be created digitally. Never attempt dangerous reverse driving or high-speed stunts on public roads to recreate an AI-generated scene.
Why Is the AI Car Reverse Transition Trend Popular?
Car videos already perform well as visual content because they combine motion, design, lighting, and sound. Adding AI animation or a reverse transition can make these videos even more distinctive.
Some reasons creators enjoy this style include:
Creative freedom: You can experiment with futuristic cars, cinematic roads, and imaginary environments.
Easy experimentation: You can generate multiple versions and select the most convincing result.
Short-form appeal: A reverse transition can communicate its effect within a few seconds.
Visual storytelling: You can turn an ordinary vehicle photograph into a dramatic before-and-after sequence.
Flexible editing: You can combine AI-generated clips with real footage, music, sound effects, and text.
The most effective videos usually have one clear visual idea rather than too many effects happening at once.
What You Need to Create an AI Uno Car Reverse Transition Video
Before starting, prepare the following items.
-
A car image or video: Use your own footage, a properly licensed image, or an AI-generated vehicle.
-
An AI image-to-video tool: This can animate a still car image.
-
A video editor: Use it to reverse clips, add transitions, and synchronize the effect with music.
-
Music or sound effects: Choose audio you have permission to use.
-
A creative prompt: Describe the car, movement, camera angle, and environment.
You can complete much of this workflow on a smartphone, although the available features depend on the applications you choose.
Step 1: Choose Your Car Video Concept
Start by deciding what you want the final video to look like.
For example, you could create a black sports car reversing through a neon-lit tunnel, a small city car transforming into a modified racing vehicle, or a cinematic vehicle reveal that moves backward before returning to its original position.
Here are some ideas to consider:
-
Black sports car reverse transition
-
Red supercar cinematic reverse
-
Modified car transformation
-
Futuristic car reverse effect
-
Nighttime street car transition
-
Car photo-to-video animation
-
Reverse zoom car reveal
-
AI car transformation with a beat drop
For your first attempt, choose a simple concept with one car and one environment. This makes the animation easier to control.
Step 2: Create or Select a High-Quality Car Image
Your starting image is important because it provides the AI with information about the vehicle’s appearance.
Choose an image where the car is clearly visible and the wheels, body shape, headlights, and background are easy to distinguish.
A three-quarter front or side angle can work well for a cinematic car video.
If you want to generate your own image, try this prompt:
AI car image prompt
You can change the car color, environment, lighting, and camera angle to suit your concept.
If your goal is to animate a particular real car, use an image of that vehicle rather than relying on a text description alone.
Step 3: Generate the First AI Car Animation
Upload your image to an image-to-video generator that supports motion prompts.
Describe what you want the car and camera to do.
For example:
AI reverse car animation prompt
Generate a short clip and inspect the result.
Look for unnatural wheel movement, changes to the vehicle’s design, flickering headlights, or background distortions. If the result isn’t convincing, simplify the prompt and try again.
Step 4: Understand the Difference Between Reverse Motion and Reverse Playback
There are two main ways to create a reverse effect.
Method A: Generate Reverse Motion With AI
You instruct the AI to make the vehicle move backward. This is useful when you want new animation that wasn’t present in the original image.
The result depends on the model’s understanding of vehicle movement.
Method B: Reverse an Existing Video Clip
You record or generate a forward-moving clip and then reverse its playback in your video editor.
This makes the video play backward in time, including the movement of the car and the surrounding objects.
However, reversing footage does not always look physically realistic. Wheels, dust, reflections, and other details may move in unusual ways.
For a social media transition, this can be an intentional creative effect.
Tip: If your reference trend features a very specific movement, compare your result with the reference before deciding which method to use.
Step 5: Create the Reverse Transition
Now you can create the transition that connects your first car shot to the second.
A simple workflow is to prepare two clips:
-
Clip A: The car moving toward the transition point.
-
Clip B: The car reversing or revealing the next scene.
Place the clips on your editing timeline and trim them so the movement connects naturally.
For example, the first clip might show the car approaching the camera. At the moment the car fills most of the frame, cut to a reversed clip or a second AI-generated scene.
Because the vehicle occupies a large part of the screen, the change between scenes may be less noticeable.
You can also add a brief zoom, motion blur, or sound effect to emphasize the transition.
Avoid using too many effects at the same moment. The car should remain the main focus.
Step 6: Create a Car Transformation Effect
You can make the video more impressive by combining a reverse transition with a vehicle transformation.
For example, a normal black car might appear to reverse into a futuristic version of itself.
First, create two consistent images:
-
The original vehicle.
-
The transformed vehicle.
Keep the camera angle, road position, and lighting as similar as possible.
Then use AI animation or editing to connect the two images.
If your AI generator struggles with the full transformation, generate separate clips and combine them in your editor.
Step 7: Use the Correct Camera Movement
Camera movement can make the reverse effect look more dramatic.
Try one of these approaches:
Low-angle tracking: The camera moves alongside the car.
Reverse zoom: The camera pulls away as the car moves backward.
Front-facing shot: The car reverses toward a fixed camera.
Side tracking shot: The camera follows the vehicle from the side.
Wide reveal: The camera pulls back to reveal the entire road or environment.
For a beginner-friendly result, use a stable camera and one simple movement. Complex camera movement can make it harder to maintain consistent vehicle geometry.
Step 8: Add Music and Synchronize the Transition
Music is one of the most important elements of a short car edit.
Choose an energetic instrumental track or a beat that matches the mood of your video.
You can use original music or audio that is licensed for your intended use.
After importing the music into your video editor, identify a strong beat or musical drop. Place the reverse transition at that moment.
For example:
-
First beat: The car enters the frame.
-
Second beat: The car begins reversing.
-
Third beat: The screen zooms or blurs.
-
Fourth beat: The transformed car appears.
This creates a stronger connection between the audio and the visuals.
Don’t worry about synchronizing every frame. Focus on the main transition and the most noticeable movements.
Step 9: Add Sound Effects
Sound effects can make your AI car video feel more immersive.
Consider adding:
-
A subtle engine sound
-
Tire movement effects
-
A transition whoosh
-
A short bass impact
-
A cinematic hit
-
A brief reverse-style sound
Choose sounds that match the visuals. For example, a dramatic whoosh can emphasize the transition, while a subtle engine sound can make the vehicle feel more present.
Avoid adding unrealistic tire squeals or crash sounds if the car is simply reversing slowly.
Reference Video
Step 10: Edit the Video for a Professional Look
Once your clips and audio are ready, review the complete timeline.
Remove unnecessary footage and keep the strongest moments.
Check that:
-
The car stays visually consistent.
-
The reverse movement is easy to understand.
-
The transition occurs at the intended moment.
-
The audio isn’t too loud or distorted.
-
The ending feels complete.
-
The video doesn’t contain obvious AI artifacts.
You can make small color adjustments to give the clips a consistent appearance. For example, use similar contrast and saturation across both scenes.
A professional edit doesn’t require dozens of effects. A clean transition with good timing is often more effective.
Step 11: Export in Vertical Format
If you’re creating the video for TikTok, Instagram Reels, YouTube Shorts, or Facebook Reels, vertical video is usually a suitable choice.
Use a 9:16 aspect ratio, such as 1080 × 1920 pixels, when supported by your editor.
Keep the car inside the visible frame throughout the clip. Make sure important details aren’t hidden behind interface elements or cropped off the edges.
For a traditional YouTube video, a horizontal 16:9 format may be more appropriate.
Choose your format before generating or editing many clips, as this helps you plan the composition.
Prompt:
Replace ONLY the main character’s face and body in @Video 1 with the person from @Image 1. Do NOT generate or modify any speech or audio — keep the video silent or with original ambient sound only, no lip-sync or voice generation needed. CRITICAL: The character is holding two cards showing the numbers “2” and “4” — these exact numbers MUST appear clearly on the cards. Everything else in the video must remain pixel-perfect identical to the original — the same two cards with numbers “2” and “4”, the same car appearing behind, the same parking garage night scene, same lighting, same camera angles, same camera movements, same timing, same outfit, same hand gestures, same head shake movement, same body language, same pose transitions, and same cinematic wide shot at the end. Do NOT change, replace, or reimagine any object, prop, card, card text, vehicle, or background element. The ONLY change should be the character’s face and body matching @Image 1. Reproduce every single frame detail exactly as it appears in the original video. No speech generation required.
Step 12: Create a Strong Opening
Short-form videos need an interesting opening.
Instead of starting with a long introduction, show the vehicle immediately.
You could begin with a close-up of the headlights, a dramatic side view, or the car already moving toward the transition point.
Optional on-screen text could include:
-
“AI Reverse Car Transition”
-
“Wait for the Reverse!”
-
“AI Car Transformation”
-
“One Car, Two Looks”
Keep the text short and readable. The visual effect should remain the main attraction.
Step 13: Create a YouTube Thumbnail
If you’re publishing the video on YouTube, create a thumbnail that shows the concept clearly.
Useful thumbnail ideas include:
-
A before-and-after car transformation
-
A car in two different positions
-
A close-up of a dramatic vehicle reveal
-
A futuristic car with a motion effect
-
A bold arrow showing the transition direction
Use high contrast and avoid clutter.
Possible thumbnail text includes “AI CAR REVERSE” or “REVERSE TRANSITION!”
Make sure the thumbnail represents the actual video instead of promising an effect that doesn’t appear in the finished edit.
Common Mistakes to Avoid
1. Using a Low-Quality Starting Image
A blurry image can make the vehicle’s shape difficult for the AI to preserve. Start with a clear image.
2. Asking for Too Many Actions
A car that reverses, spins, transforms, jumps, and changes color in one clip may produce inconsistent results. Separate complicated actions into different clips.
3. Ignoring Wheel Movement
Wheels can look unnatural in AI animations. Inspect the result carefully and try simpler motion instructions.
4. Using Poorly Matched Clips
If the camera angle changes too much between scenes, the transition may feel abrupt. Match the vehicle’s position and scale where possible.
5. Overusing Effects
Too many flashes, shakes, and transitions can distract viewers from the car.
6. Ignoring Music Rights
Not every popular song can be used freely in monetized videos. Check the relevant licensing terms.
Final Thoughts
Creating an AI Uno car reverse transition video is a creative way to combine AI animation, reverse playback, cinematic camera movement, music, and editing effects. You can start with a single car photograph and gradually build a more advanced video using multiple scenes.
The easiest approach is to choose a clear concept, generate a high-quality car image, animate simple backward movement, and connect your clips at a strong visual moment. Add music and sound effects, synchronize the transition with the beat, and export the final video in the correct format for your platform.
Remember that AI-generated motion may not always look physically accurate. Generate multiple versions, inspect the wheels and bodywork, and use editing to hide unwanted artifacts.
Most importantly, focus on timing and clarity rather than adding as many effects as possible. A smooth reverse transition, an interesting car reveal, and well-synchronized music can create a compelling result without complicated editing.
For More Click Here