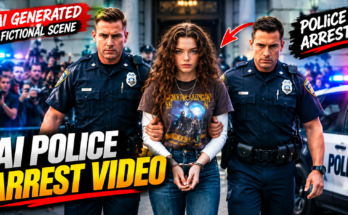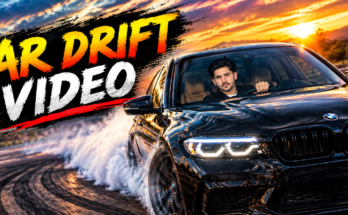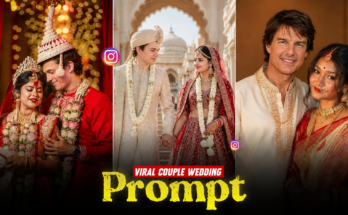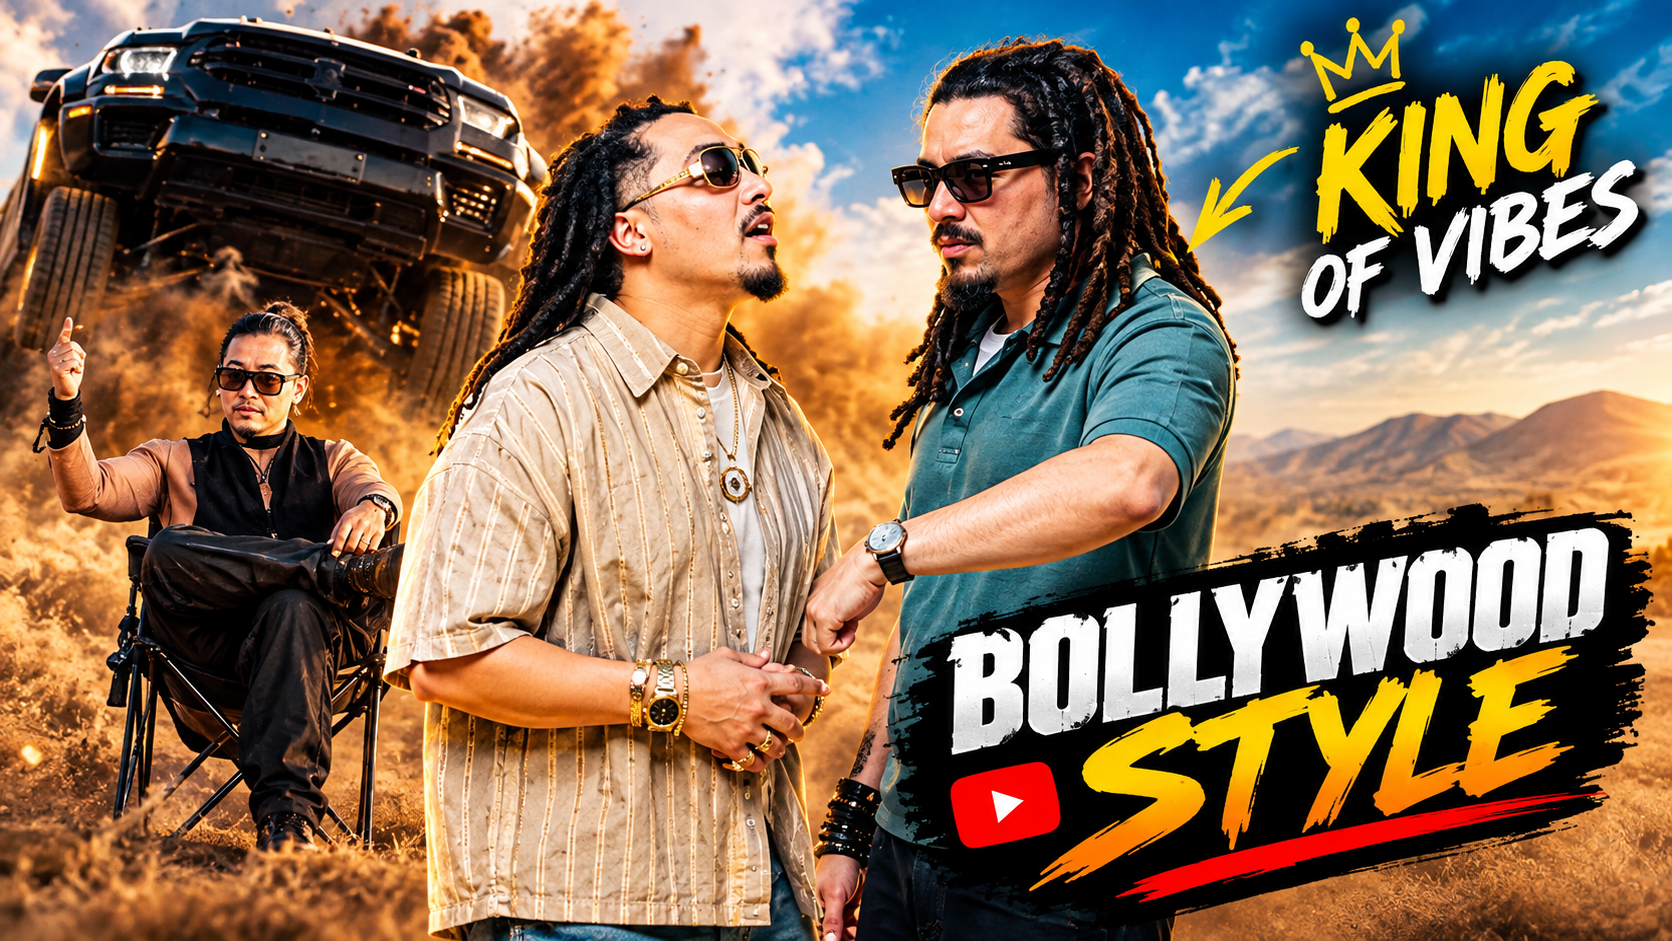
Artificial intelligence has completely changed the way creators produce video content. In the past, creating a professional-looking video required cameras, actors, locations, lighting equipment, and hours of editing. Today, AI video tools can help turn a simple idea, image, or text prompt into an engaging video within minutes.
From AI cinematic videos and talking photos to AI car videos, transformation videos, fantasy scenes, viral reels, and image-to-video animations, creators are using artificial intelligence to experiment with new content every day.
If you want to learn how to create trending AI videos, this guide will show you a complete workflow. You will learn how to find an idea, create AI images, animate them, write better prompts, edit your clips, add music and effects, and optimize your final video for social media.
What Are Trending AI Videos?
Trending AI videos are short-form or long-form videos created with the help of artificial intelligence that attract attention because of their unusual visuals, creative concepts, transformations, or storytelling.
Some popular formats include:
- AI image-to-video animations
- AI cinematic videos
- AI transformation videos
- AI talking photos
- AI fashion videos
- AI car videos
- AI travel scenes
- AI fantasy videos
- AI historical concepts
- AI storytelling videos
- AI character animations
- AI product videos
- AI wedding concepts
- AI animal videos
- AI movie-style scenes
The important thing to understand is that a trend is not simply a tool. A tool may help you produce the content, but the idea, presentation, hook, visual quality, and editing are what make the final video interesting.
Why Are AI Videos Becoming So Popular?
AI videos are popular because they allow creators to visualize ideas that would normally be expensive or difficult to film.
Imagine wanting to create a video of a futuristic city, a person traveling through space, a luxury car driving through a fictional environment, or an animated photograph coming to life.
A traditional production could require a large budget.
With AI, you can start with a prompt and build the concept digitally.
AI also makes experimentation easier. You can create several versions of an idea, test different styles, and select the most interesting result.
This is particularly useful for creators producing content for YouTube Shorts, TikTok, Instagram Reels, Facebook, and other short-form platforms.
Step 1: Find a Trending AI Video Idea
Before opening an AI generator, start with the idea.
A common mistake is searching for an AI tool first and then trying to decide what to make.
Instead, start with a concept.
For example:
“A normal photograph transforms into a cinematic movie scene.”
Or:
“A fictional sports car transforms from an ordinary vehicle into a futuristic concept car.”
Or:
“A historical-looking photograph comes alive as a short cinematic scene.”
Your idea should be easy to understand visually.
Good AI Video Concepts
Consider ideas involving:
- Transformation
- Before and after
- Fantasy
- Travel
- Vehicles
- Fashion
- Animals
- Cinematic storytelling
- Future technology
- Historical imagination
- Magical effects
- Miniature worlds
The best concept for you will depend on your audience and the platform where you publish.
Step 2: Create a Strong Hook
The first few seconds of a short video are extremely important.
Instead of beginning with a long introduction, show viewers something interesting immediately.
For example:
“What if this photo came to life?”
“AI turned this ordinary image into a movie scene.”
“Watch this car transform completely.”
“I asked AI to imagine the future…”
A good hook creates curiosity without misleading viewers.
You can also begin with your most impressive visual rather than explaining what the video is about.
Step 3: Generate the Main AI Image
Many trending AI videos begin with a high-quality image.
Your image becomes the foundation for the animation.
When writing your image prompt, describe:
- Subject
- Environment
- Clothing
- Lighting
- Camera angle
- Background
- Mood
- Composition
- Visual style
For example:
“A cinematic fictional character standing on a futuristic city street at night, glowing neon signs, wet reflective pavement, dramatic blue and purple lighting, realistic clothing details, shallow depth of field, professional cinematic photography, detailed environment, dynamic composition.”
This is more useful than simply writing:
“Make a futuristic person.”
The more clearly you describe the visual concept, the more control you have over the result.
Step 4: Use Image-to-Video AI
Once your image is ready, you can animate it using an image-to-video AI tool.
Upload your image and describe the movement.
For example:
“The character slowly walks forward while the camera smoothly moves backward, subtle clothing movement, realistic body motion, cinematic lighting, stable composition.”
Notice that the prompt focuses on movement.
You don’t need to repeat every detail from the original image.
Step 5: Keep AI Animation Simple
One of the biggest mistakes beginners make is asking AI to perform too many actions in one clip.
For example:
“The character runs, jumps, dances, turns around, changes clothes, flies into the sky and disappears.”
The result may contain unwanted distortions.
Instead, separate the actions.
Clip 1
“The character slowly walks toward the camera.”
Clip 2
“The character turns toward the city skyline.”
Clip 3
“The camera slowly moves upward to reveal the futuristic city.”
You can then combine the clips during editing.
This gives you much more control.
Step 7: Maintain Visual Consistency
One of the biggest challenges with AI video generation is consistency.
Your character may suddenly have:
- Different clothing
- Different hairstyle
- Different face
- Different body proportions
- Different accessories
The environment can also change unexpectedly.
To reduce these problems, repeat important details in your prompts.
For example:
“Maintain the same character appearance, hairstyle, clothing, facial structure, and color palette as the reference image.”
If your AI tool supports reference images or character consistency features, use them.
Consistency is especially important when creating a story involving the same character.
Step 8: Experiment With Camera Movements
Camera movement can make a simple AI animation look much more cinematic.
Try different movements such as:
Slow Push-In
The camera gradually moves closer to the subject.
Pull-Out
The camera moves backward and reveals more of the environment.
Tracking Shot
The camera follows a moving subject.
Side Pan
The camera moves horizontally across the scene.
Orbit Shot
The camera moves around the subject.
Tilt-Up
The camera moves upward to reveal something above the subject.
For example:
“Slow cinematic camera push toward the subject, stable framing, shallow depth of field, subtle environmental movement.”
Step 10: Edit Your AI Clips
After generating your clips, bring them into a video editor.
Arrange them according to your story.
Then remove:
- Unnecessary frames
- Distorted sections
- Repetitive shots
- Slow openings
- Poor-quality generations
Keep the strongest moments.
A short video doesn’t need to contain every clip you generated.
Step 11: Add Music
Music can completely change the mood of an AI video.
Choose music based on your concept.
Cinematic Video
Use dramatic instrumental music.
Travel Video
Use energetic or atmospheric music.
Transformation Video
Use music with a build-up or beat drop.
Emotional Video
Use softer instrumental music.
Always check the licensing terms of the music before using it commercially.
Step 12: Add Sound Effects
Sound effects can make AI videos feel much more immersive.
Depending on your concept, you can add:
- Footsteps
- Car sounds
- Wind
- Rain
- Camera shutter sounds
- City ambience
- Whooshes
- Impact sounds
- Magical effects
- Machine sounds
For example, if an object flies across the screen, a subtle whoosh can make the movement feel more convincing.
Step 13: Use Transitions Carefully
You don’t need a different transition between every clip.
Simple cuts often work extremely well.
You can also use:
- Fade
- Cross dissolve
- Zoom transition
- Motion transition
- Light transition
The transition should support the story rather than distract from it.
Step 14: Create Vertical AI Videos
If you’re targeting short-form platforms, vertical video is generally a practical format.
A common aspect ratio is:
9:16
For example:
1080 × 1920 pixels
Make sure important subjects remain inside the central area of the frame.
This is particularly important when adding text because different platforms can display interface elements over parts of the video.
Step 16: Use AI Video Prompts Correctly
A useful AI video prompt can follow this structure:
Subject + Action + Camera + Environment + Motion + Style
This gives the AI a clear understanding of what should happen.
Clothes Changing Prompt:
Use the uploaded source video as the reference for all motion, timing, cuts, camera position, framing, perspective, and the rotating fan blade’s exact movement, speed, and direction — none of this changes.
CHANGE: Replace the character lying on the rug with a sequence of different characters over time, following the same order as the reference images: the character shown is @[Image 1](image_1) at the start, then transforms into @image_2 at the first fan blade pass, then @image_3 at the next fan blade pass, then @image_4 at the next pass, then @image_5 at the final pass — each transformation hidden completely within the blade’s sweep across the frame, exactly matching the timing of the transitions in the source video.
For each character, use their exact identity, face, hairstyle, and full outfit/wardrobe/shoes exactly as shown in their reference image; ignore each reference image’s own background — take only the person and what they are wearing.
Preserve the lying pose, body position, limb placement, and head angle from the source video’s performer at every point in time — only the identity and outfit change, never the pose or body layout.
PRESERVE: the checkered black-and-cream rug, the wooden herringbone floor, the orange velvet sofa, all room furniture and decor, the lighting and warm sunlight direction, and the rotating fan blade’s size, angle, speed, and bottom-to-top rotation direction — all exactly as filmed in the source video, completely unchanged.
REMOVE: any handbag, tote bag, hat, or accessory visible in the source video or in any reference image that is not explicitly part of a character’s described outfit — no extra props or accessories from any reference should appear in the output.
Step 17: Try Different AI Video Styles
You don’t have to make every video photorealistic.
Experiment with different visual styles.
Cinematic Realism
Professional movie-like appearance.
3D Animation
Useful for characters, products, and fictional environments.
Anime Style
Good for fantasy and storytelling content.
Clay or Toy Style
Useful for creative and humorous videos.
Miniature Style
Can make ordinary scenes look unique.
Futuristic CGI
Works well for technology and science-fiction concepts.
Testing different styles can help you discover what your audience responds to.
Car Entry Prompt:
Change the character from @[Video 1](video_1) using the identity and appearance from @[Image 1](image_1), making sure the character wears black sunglasses matching the style of the main character in the video while keeping all other facial and visual features from @[Image 1](image_1) completely intact, and change the pickup truck using @[Image 2](image_2)
Step 18: Create AI Transformation Videos
Transformation videos are particularly suitable for AI because they provide a clear visual change.
For example:
Normal person → futuristic character
Ordinary room → luxury room
Regular car → futuristic car
Old photograph → cinematic scene
Simple landscape → fantasy environment
The transformation itself becomes the hook.
Horror Prompt
Edit the uploaded source video. Replace only the people. Keep everything else identical to the original: same shots, same cuts, same timing, same camera, same lighting, same locations, same props, same gun, same wardrobe shapes, same tear tracks, same wind, same sunset, same color grade, same film grain, same framing. Ultrarealistic live-action. No restyle. No new scene. No extra characters.
@[Image 1](image_1) replaces the man in every shot. Lock his exact face, hair, skin, and body from @[Image 1](image_1). Use him in the dark house and in the golden-field memories. Map him onto the original man’s head position, eye line, crying, aiming, lowering the gun, opening his arms, smiling, running, and kissing. Do not redesign his face.
@[Image 3](image_3) replaces the infected woman in the house only. Same facial structure as @[Image 2](image_2), infected state only. Keep the milky eyes, dirty cracked skin, snarl, torn clothes, and feral twitch from the original performance.
@[Image 2](image_2) replaces the healthy woman in the memory shots only: lying in the grass, laughing close-up, running through the field, sitting at sunset. Same identity as @[Image 3](image_3), healthy state only.
Do not blend @[Image 2](image_2) and @[Image 3](image_3) in the same shot. Do not put the healthy face on the infected body. Do not put the infected face on the memory woman. Do not change backgrounds, windows, kitchen shelves, grass, sky, or camera path. Preserve photoreal skin contact, wet tears, and natural head tracking to the original motion.
Step 19: Improve AI Video Quality
If the generated video looks soft or inconsistent, consider improving the workflow rather than simply adding more effects.
Use:
- Higher-quality source images
- Better lighting descriptions
- Simple movements
- Consistent references
- Shorter clips
- Careful editing
- Appropriate upscaling when available
Don’t over-sharpen the final video.
Too much sharpening can make faces and textures appear unnatural.
Common AI Video Mistakes
Using Poor-Quality Images
Your source image affects the final video significantly.
Start with a clean, detailed image.
Asking for Too Much Movement
Keep animation instructions simple.
Changing Styles Between Scenes
Maintain similar lighting, colors, and visual style.
Making the Video Too Long
Remove repetitive sections.
Using Too Much Text
Let the visuals do most of the work.
Ignoring Sound
Good sound design can make a major difference.
Presenting Fictional Content as Real
Clearly identify AI-generated or fictional scenes when viewers could reasonably mistake them for real events.
How to Make AI Videos More Engaging
The most important element isn’t always technical quality.
The idea matters.
A simple but clever concept can be more interesting than an extremely detailed AI video with no story.
Try asking:
- What would make someone stop scrolling?
- Is the idea understandable immediately?
- Does something change during the video?
- Is there a surprise?
- Does the ending provide a payoff?
- Would someone want to share it?
These questions can help you improve your concepts before spending time generating clips.
Final Thoughts
Learning how to create trending AI videos doesn’t require you to be a professional filmmaker. AI tools can help you transform an idea into an image, animate that image, and build several clips into a complete short video.
The most effective workflow starts with the idea, not the software. Choose a concept that can be understood visually, create a strong opening, generate high-quality images, and animate them with simple movement instructions.
From there, focus on consistency. Keep your characters, environments, lighting, and visual style similar between scenes. Use cinematic camera movements without making the animation unnecessarily complicated.
Finally, editing can turn individual AI generations into a complete piece of content. Add appropriate music, sound effects, captions, transitions, and color adjustments. For social media, pay particular attention to the first few seconds and make sure the final video is formatted correctly.
AI video creation is constantly evolving, so experimenting is part of the process. Generate multiple versions, learn which prompts produce better results, and develop your own visual style.
For More Click Here