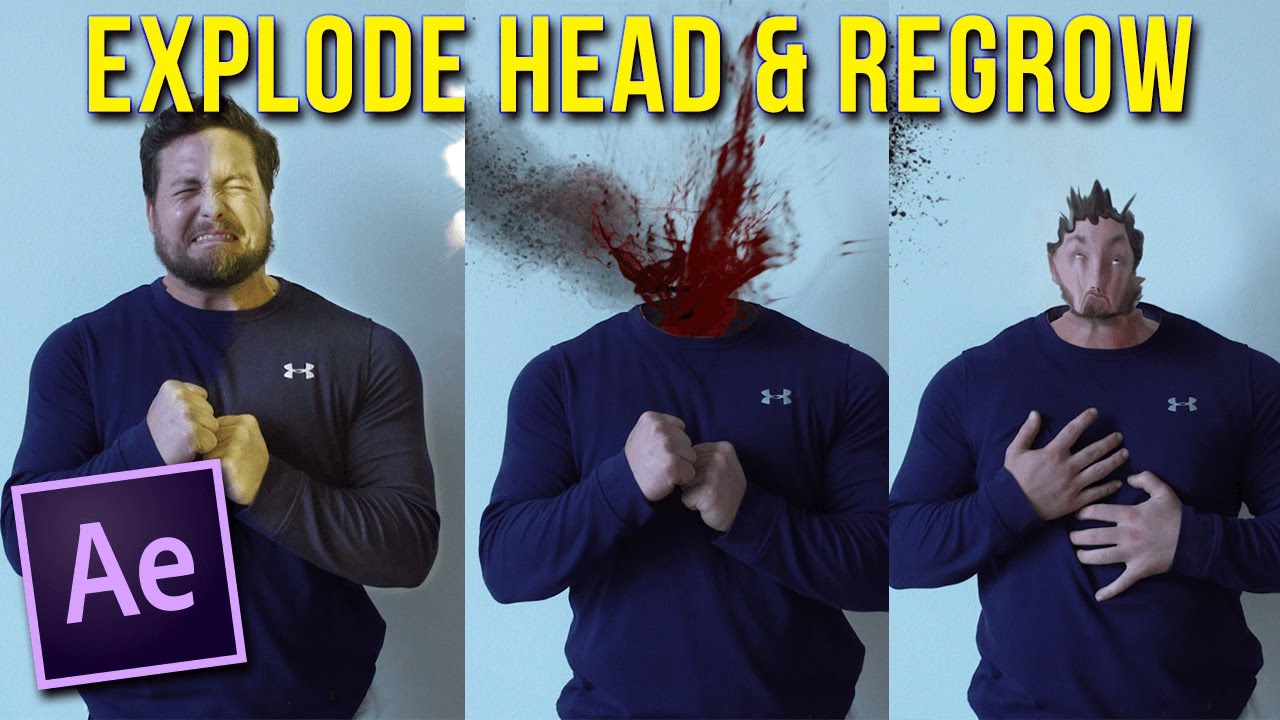
The AI head explosion effect is a bold, surrealistic visual technique where an artificial intelligence–generated portrait shows the top of a human head dissolving, bursting, or “exploding” into abstract shapes, particles, or dream‑like structures. It’s become a viral favorite on platforms like Instagram and TikTok, often used to symbolize mind-blown reactions, creativity, or abstract thought.
Why You’re in the Right Place
In this step‑by‑step guide, we’ll walk through:
-
✅ Gathering the right images and data
-
✅ Selecting or training the best AI model
-
✅ Generating your initial artwork
-
✅ Adding that dramatic explosion effect
-
✅ Final polishing for social‑ready results
By the end, you’ll have a full workflow—from concept to shareable masterpiece.
2. Why Use This Effect? Benefits & Use Cases
🎨 Creative Expression
The effect visually conveys mind-blown ideas, epiphanies, or overwhelming inspiration.
📣 Social Media Engagement
Eye‑catching graphics attract more likes, shares, and comments, especially among creative audiences.
🧠 Branding & Marketing
Use it to promote podcasts, courses, or blogs about creativity, mental health, or innovation.
🚀 Portfolio Value
For digital artists, illustrators, and motion‑graphics designers, it shows your technical range and conceptual boldness.
3. How It Works: The Tech Behind the Effect
At its core, this is a generative AI image effect involving:
-
Computer Vision & Style Transfer – creating layered visuals.
-
Diffusion Models – e.g., Stable Diffusion, DALL·E, Midjourney, that can produce surreal, abstract results from prompts.
-
Layered Compositing – merging the realistic portrait with explosion elements via photo‑editing.
Key point: Mastering the effect requires both AI generation and post‑processing skills.
4. Tools You’ll Need: Software & Models 🛠️
A. AI Models
-
Stable Diffusion (locally or via DreamStudio)
-
Midjourney (Discord-based)
-
DALL·E 3 (OpenAI API)
B. GUI Tools
-
Automatic1111 – for enhanced control and local Stable Diffusion access
-
InvokeAI, DiffusionBee, or Stable UI
C. Editing Software
-
Photoshop (industry standard)
-
GIMP (free alternative)
-
Affinity Photo, Krita, or Paint.NET
D. Optional Extras
-
Element packs: smoke, particles, abstract shapes
-
Brushes: splatter, scatter, organic texture
-
Brushes/Raster assets to refine edges
5. Step 1: Prepare & Collect Source Images
A. Choose a Portrait
-
Use a high-resolution headshot (2,000×2,000 px or larger).
-
Opt for neutral expression, good lighting, minimal background distractions.
B. Clean Up the Photo
-
Make basic adjustments: crop, straighten, color balance.
-
Export as PNG or high‑quality JPEG.
C. Define Style
-
Decide on the effect’s tone: realistic explosion vs. abstract particles.
-
Collect references: search “digital art head explosion” on Instagram/Pinterest for inspiration.
6. Step 2: Choose or Train a Model
Option A: Use a Pre‑Trained Model
-
Stable Diffusion XL, SD v2.1, or Midjourney can already achieve great results with prompts.
Option B: Finetune or LoRA
-
If you want consistent “exploding” patterns or a signature look, create a LoRA or finetune model using 20–50 example images.
Option C: Use Prompt‑to‑Image Only
-
Many creators skip training and use prompt engineering for direct output.
7. Step 3: Compose Prompts or Provide Training Data
A. Prompt Structure Tips
-
Prompt:
-
Use quality tags: “hyper‑detailed”, “8K resolution”, “cinematic lighting”, “volumetric smoke”.
B. Negative Prompts
-
Reduce unwanted elements:
C. Prompt Fine‑Tuning
-
Experiment with style modifiers: “surrealist explosion”, “digital particles”, “sparkling dust”, “shattered glass”.
8. Step 4: Generate Your Base Image
A. Initial Generation
-
Set resolution ~1,024×1,024 px (or higher).
-
Use 50–100 inference steps, CFG scale 7–10.
-
Generate 5–10 variations.
B. Evaluation Tips
-
Look for crisp edge blending between head and particles.
-
Check for unnatural artifacts (extra faces, weird shapes).
C. Rerun with Tweaks
-
Adjust prompt, seed, or CFG scale.
-
If no variation works, consider blending multiple outputs in post.
9. Step 5: Refine & Finetune (Optional)
A. Inpainting (Automatic1111)
-
Use inpainting to clean up jagged edges or pull out additional detail.
-
Mask head top, instruct AI: “blend head into smoke and light particles”.
B. Outpainting
-
Create larger canvas for more dramatic spreads or wider effect.
C. Image‑to‑Image Mode
-
Take your best draft, repurpose with stronger effect, amplify colors, add glow.
10. Step 6: Add “Head Explosion” Visual Impact
If Prompt Alone Isn’t Enough:
-
Generate explosion brushes: soft smoke, glowing particles, lines.
-
Export base image with transparent area over head top.
-
In Photoshop/GIMP:
-
Create a new layer above head/top.
-
Brush or paste explosion textures.
-
Use layer blending: Screen, Add, Lighten, or Overlay.
-
Add Depth & Motion
-
Paint motion blur or radial blur from the break point.
-
Add color gradients—warm tones (red, orange, yellow) radiating outward.
Light & Shadow
-
Use dodge/burn for dynamic lighting.
-
Fake 3D light and reflect onto face edges.
11. Step 7: Post‑Processing in Photoshop/GIMP
-
Adjustment Layers
-
Levels/Curves for contrast
-
Color Balance/Hue-Sat for stylization
-
-
Sharpening
-
Apply Unsharp Mask or High Pass to enhance detail
-
-
Noise/Grain
-
Add subtle noise to unify AI‑generated and brushed parts
-
-
Final Crop & Export
-
Export in web‑optimized formats: JPEG (80 %) or PNG
-
1080 × 1080 px for Instagram, 1200 × 675 px for Twitter
-
12. ✅ Final Touches & Output Tips
-
Name the file descriptively:
ai-head-explosion-portrait.jpg -
Meta‑tags: include “AI,” “head explosion,” “portrait,” “digital art”
-
Write compelling alt text: “A human portrait with the top of the head bursting into glowing particles and shards.”
-
Resize for each platform to preserve detail & fit aspect ratio.
13. SEO Tips: Optimize for Discoverability
-
Keyword Research
-
Focus: “AI head explosion”, “AI mind blown effect”, “AI glitch head”, “AI portrait explosion tutorial”
-
-
Title & Headings
-
Include core keyword in the blog title and at least one H2/H3.
-
-
Intro Paragraph
-
Add the keyword early (first 50 words).
-
-
Image Alt‑Text & Captions
-
Use variants: “AI head explosion portrait”, “surreal AI-generated head explosion”
-
-
Internal & External Links
-
Link to other art/AI generation tutorials (you control your site)
-
Reference popular tools: Stable Diffusion, Midjourney, Photoshop
-
-
Structured Data
-
Use how‑to schema (JSON‑LD) for step‑by‑step format to potentially show in Google search.
-
-
Multimedia
-
Include depth diagrams, process GIFs, before-and-after sliders.
-
-
Meta Description
-
A concise, keyword‑rich summary:
“Learn how to create a jaw‑dropping AI head‑explosion effect—step‑by‑step guide with prompts, tools, and Photoshop tips.”
-
14. Conclusion: Wrap Up & Next Steps
You’ve just learned how to:
-
Set up your AI pipeline using Stable Diffusion or Midjourney
-
Craft prompts for dramatic “head explosion” visuals
-
Enhance and polish your work with compositing tools
-
Optimize outputs for social platforms
-
Apply SEO best practices so your tutorial gets discovered
Start experimenting with different portrait styles and color schemes—make this effect your own! If you post your work.
For more Information Visit Puletech